Overview
Mint page projects are the storefronts for your NFT projects. In this project you will be able to create a page that act as the public-facing landing page where collectors can mint your NFTs, while you manage everything in the backend as a creator.What you need to know about mint page projects
- This is where you can create your mint page and link it to your art collections.
- Contract deployment happens directly within the mint page project.
- Creators can publish your mint page even if you have not deployed your contract yet. This flexible publishing lets you prepare everything in stages before going live.
- Our new gates feature allows you to gauge interest and collect pre-mint information before you deploy your contract.
- Once your contract is deployed, you can manage and facilitate the mint process from the mint page admin dashboard.
- Whitelist setting is available in the mint page admin dashboard.
How to create a mint page project
You can follow the steps below to create a mint page project from beginning to end.Certain steps can be skipped and be completed later. We added more flexibility to allow creators setup a mint page without deploying any contracts immediately.
1
Go to your mint projects page.
2
Open the creation modal by hitting “Create”
3
Select the chain you want to deploy your contract to.
4
Fill in the details of your mint page project.
5
Hit “Create”
6
Your mint page project will be created and you will be redirected to the project page where you can start setting up your mint page.
7
Link an art collection to your mint page project.
8
Fill out your Mint Page Details. And publish your mint page.
Each mint page has 6 subtabs that cover all information collectors need to know about your project: Profile, Art Collection, Roadmap, Team, FAQs, Music.
9
Organize your Mint Groups.
Mint Groups are used to organize your mint page into different sections.
10
Launch your Mint Page.When you’re ready to go live, move to the Launch Tab.
- You will be prompted to review Contract Info, Supply and Price Preview. The system will also prompt you to complete any missing information.
- Once done filling out all necessary information, you can now finalize by completing the following steps:
- Compile Smart Contract
- Deploy Smart Contract
- Verify Smart Contract
11
Manage via Admin Tab.After deployment, you’ll be redirected to the Admin Tab, where you can do the following:
- View an overview of your Mint Page.
- Continue editing connected elements like Art Gallery collections (only if they match the same supply).
- Adjust Mint Groups as needed.
Video tutorial
Setup breakdown
Let’s break down and explain each step in more detail.- Header
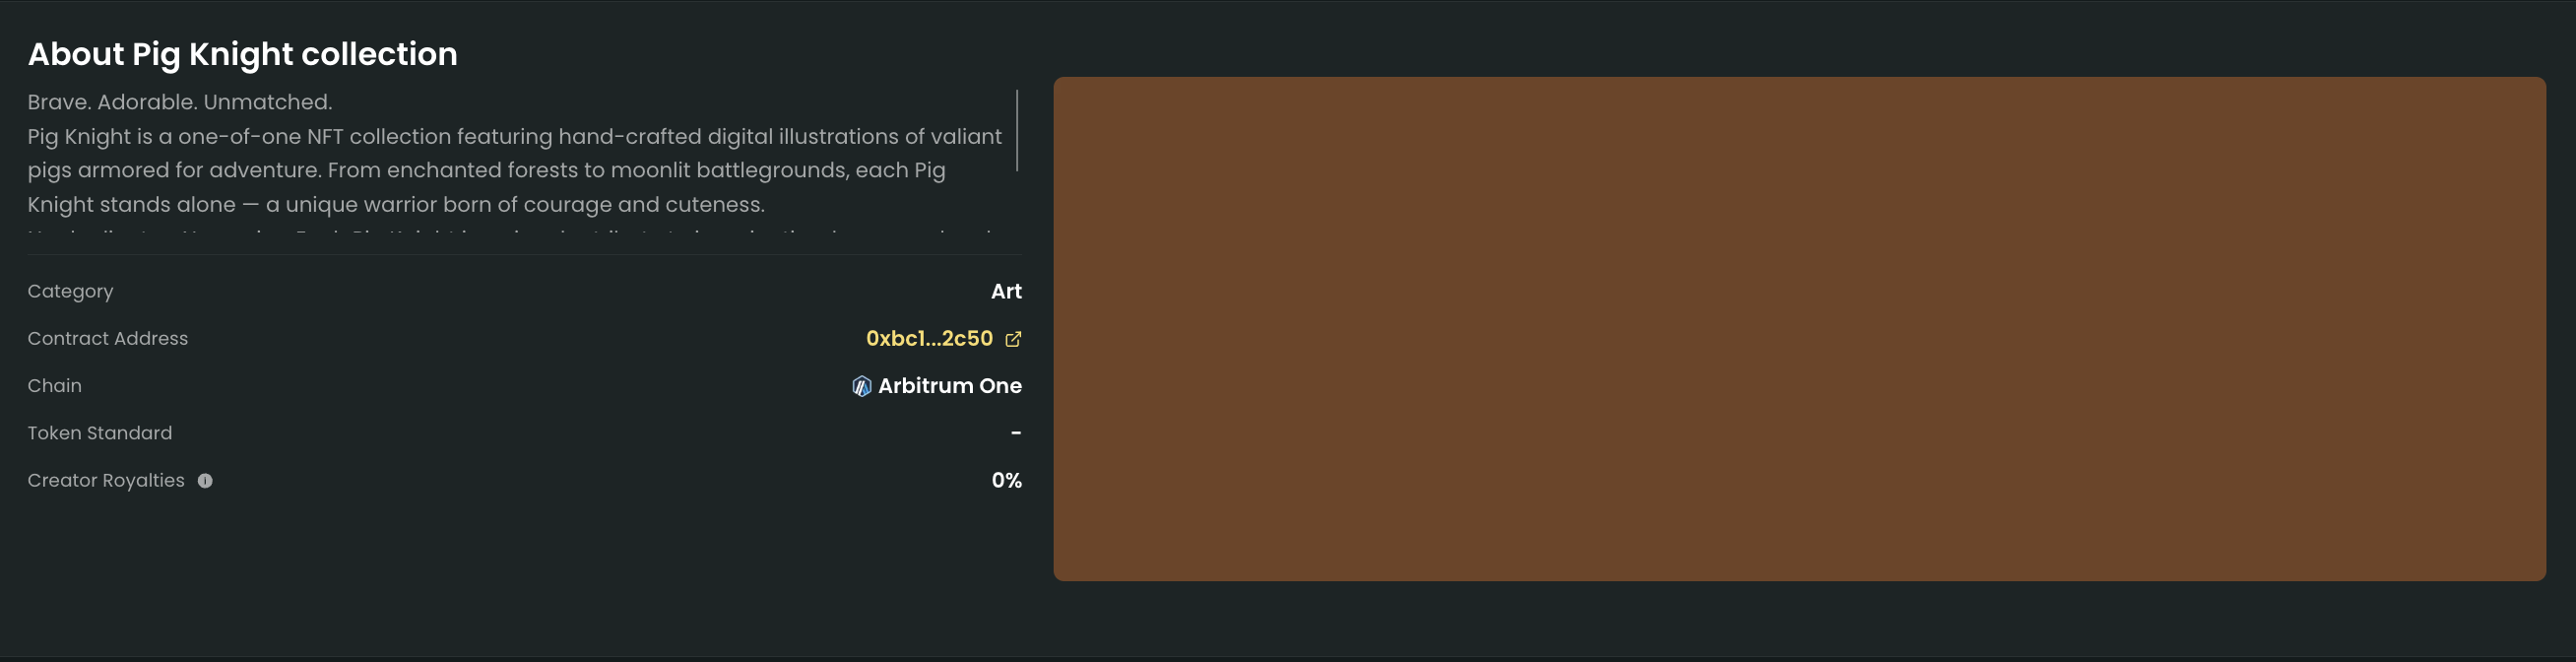
- About
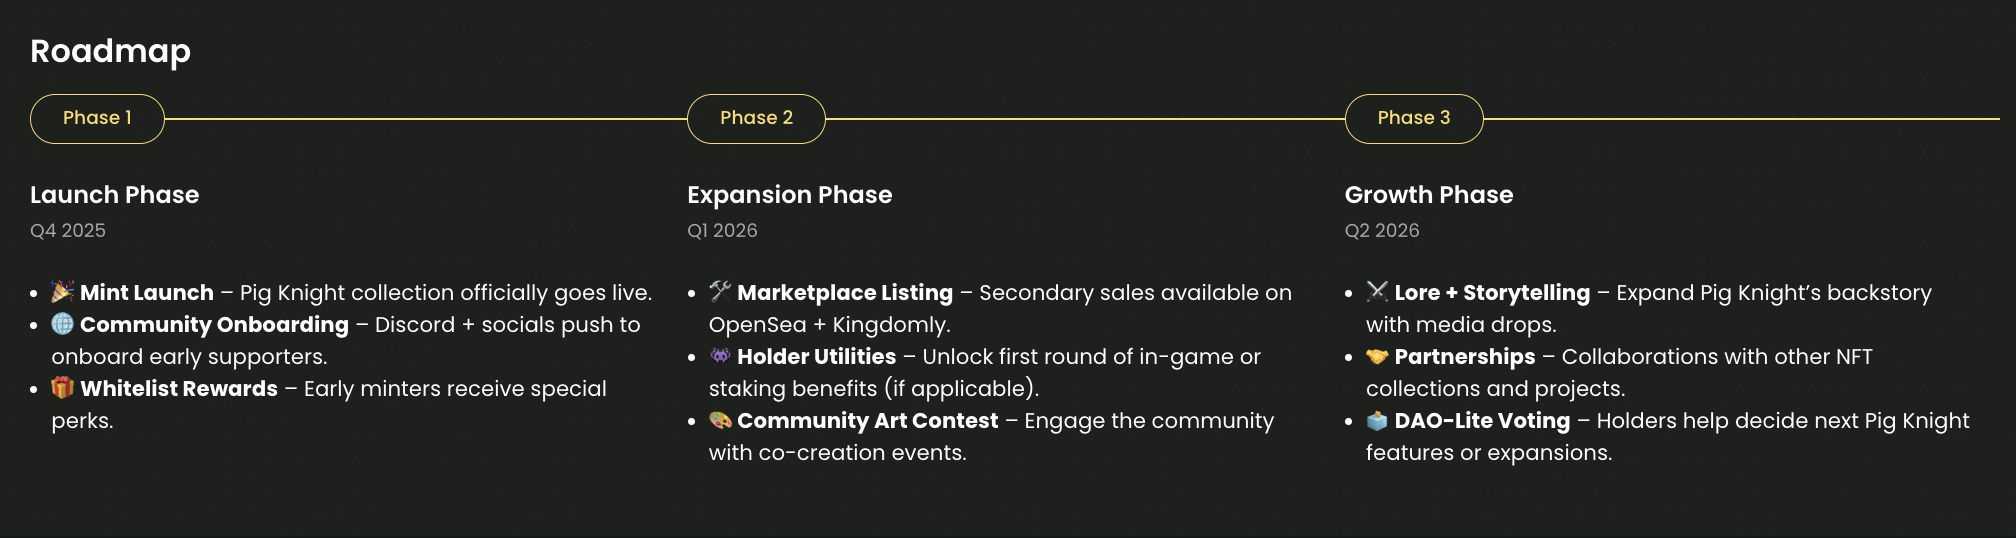
- Roadmap
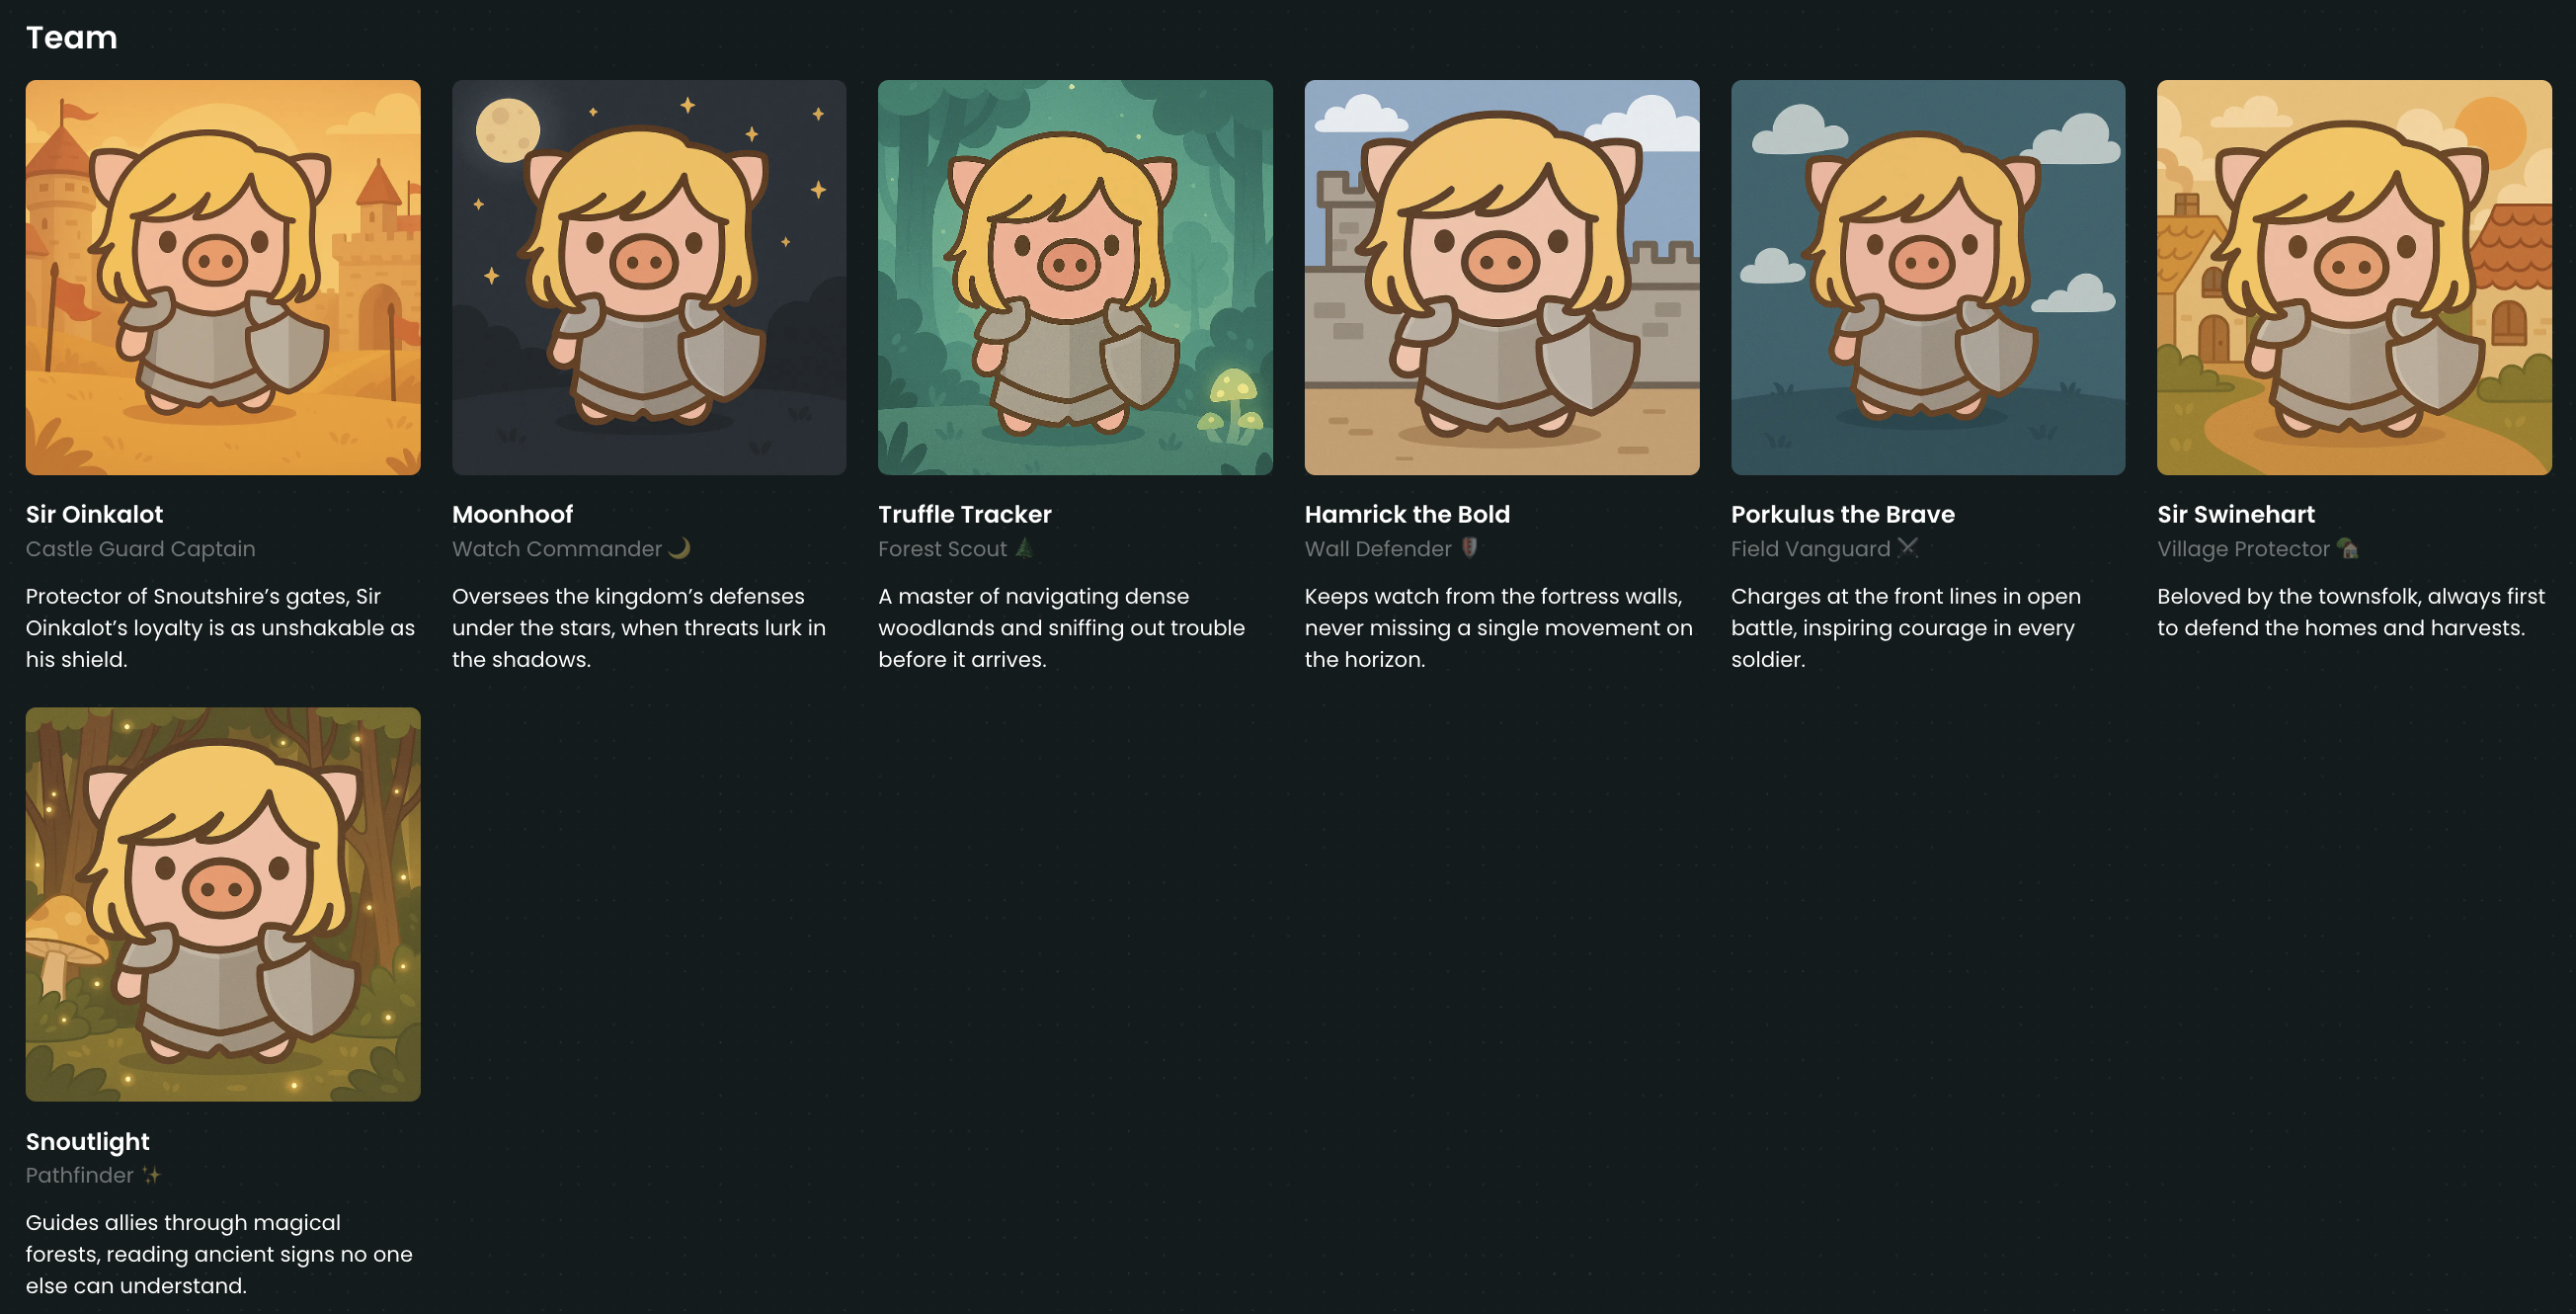
- Team
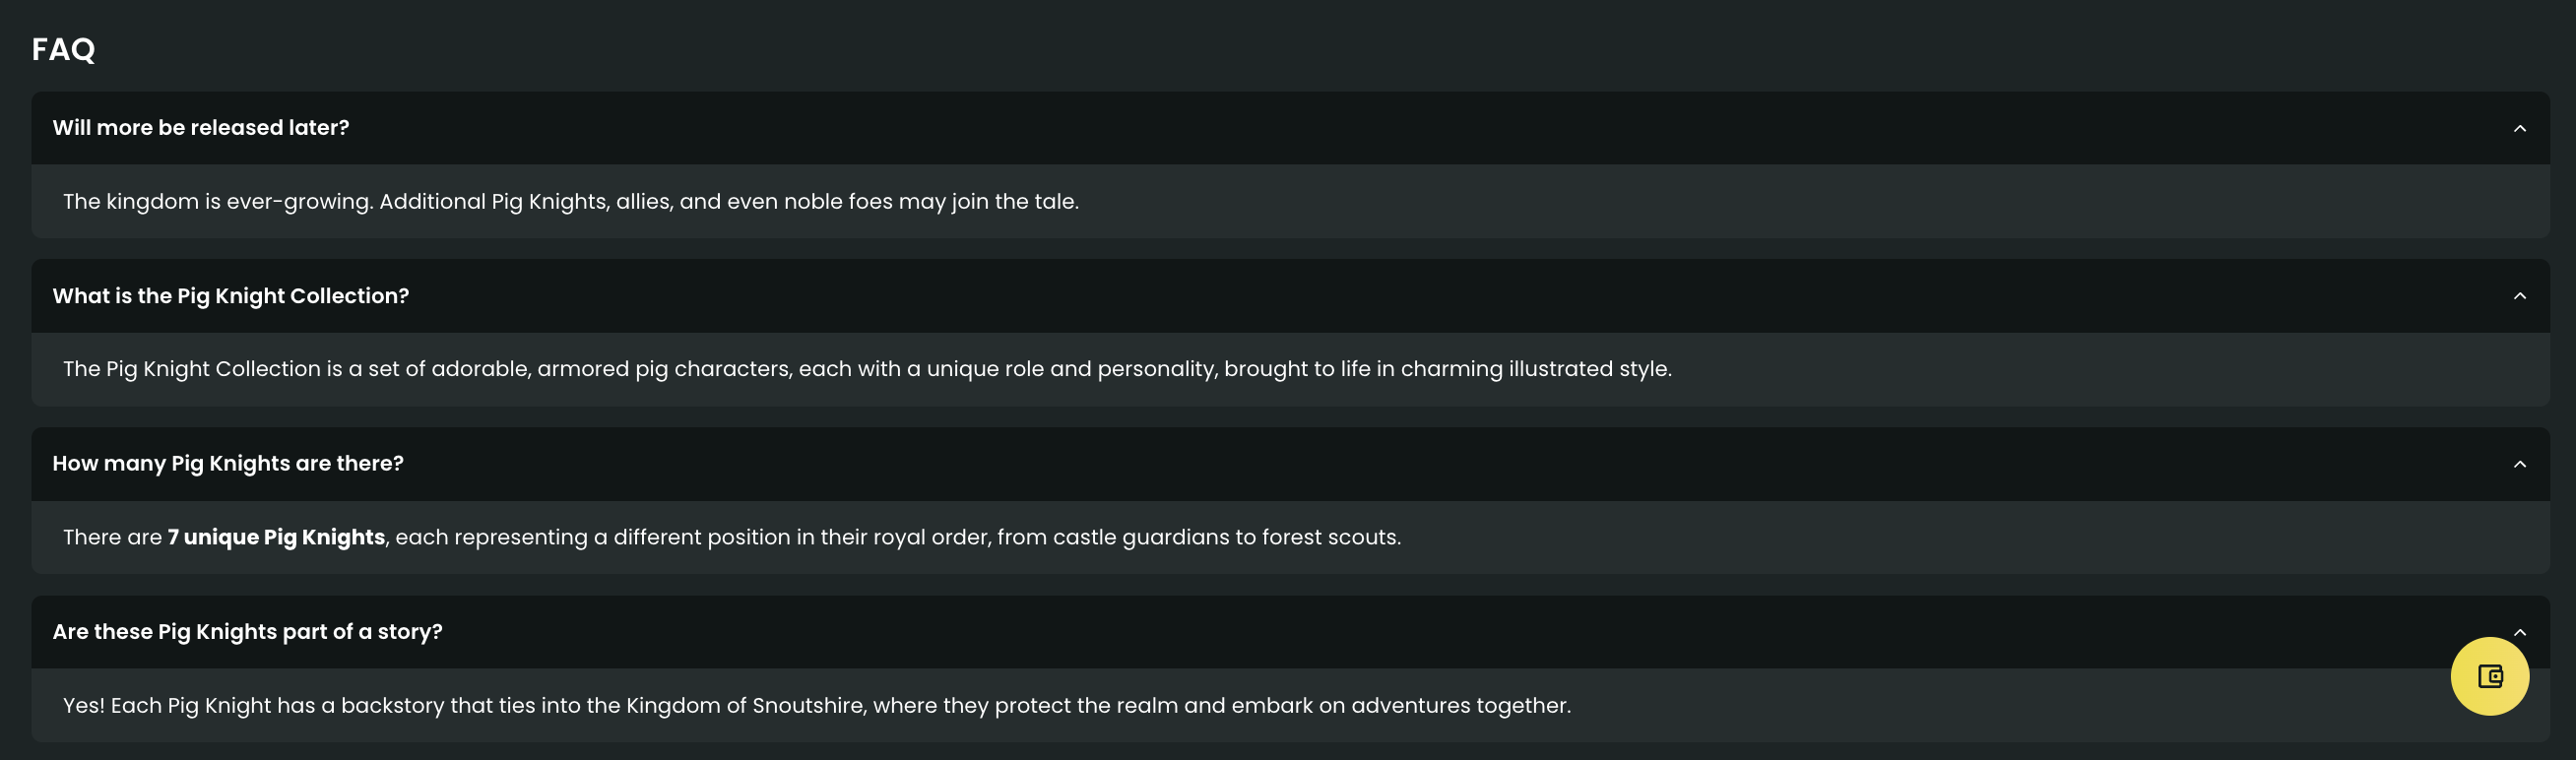
- FAQs
The header section displays the collection name, links, collection profile image, and the Kingdomly verified tag (if applicable). This is the first thing minters will see when they visit your mint page.A clean header section helps your mint page stand out and makes a strong first impression.What does this look like on the mint page:
Secondary trading data is not yet available for mint page.